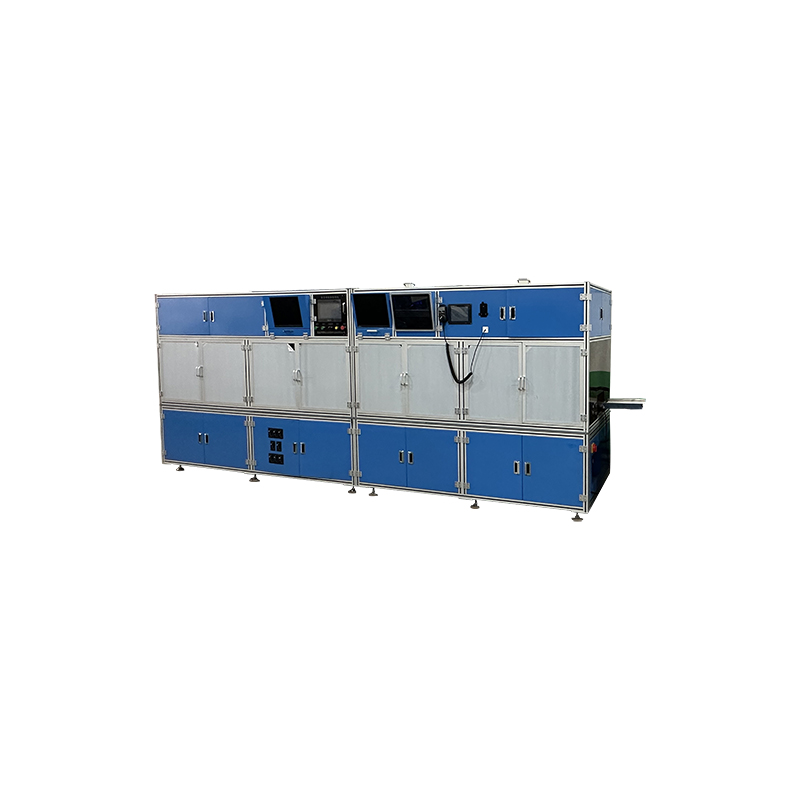
Principle of eddy current testing:
Eddy current detection is the application of electromagnetic induction principle, which excites the probe coil with a sine wave current. When the probe approaches the metal surface, the alternating magnetic field around the coil generates induced current on the metal surface. For flat metal, the direction of induced current is a concentric circular coil, resembling a vortex, called an eddy current. At the same time, eddy currents also generate a magnetic field of the same frequency, which is opposite to the direction of the coil magnetic field. The loss resistance of the eddy current channel, as well as the anti magnetic flux generated by the eddy current, are reflected back to the probe coil, changing the current magnitude and phase of the coil, that is, changing the impedance of the coil. Therefore, when the probe moves on the metal surface and encounters defects or changes in material, size, etc., the reaction of the eddy current magnetic field on the coil is different, causing changes in the coil impedance. By measuring this change with an eddy current detection instrument, the presence of defects or other physical and material changes on the metal surface can be identified. There are many factors that affect the eddy current field, such as the degree of coupling between the probe coil and the tested material, the shape and size of the material, conductivity, permeability, and defects. Therefore, the principle of eddy current can be used to solve problems such as metal material inspection, thickness measurement, and sorting
Technical parameters:
Sensitivity of flaw detection: cracks and defects that extend from the surface of the workpiece to the inside of the metal with a depth of ≥ 0.05 mm and a length of ≥ 2 mm; For cracks inside the metal that have not yet extended to the surface of the workpiece, cracks with a depth of ≥ 0.20mm and a length of ≥ 1mm can be detected when the metal thickness between the upper edge of the crack and the surface of the workpiece is ≤ 0.2 mm.
For metallic and non-metallic materials, microwaves exhibit different characteristics. In the detection of metallic materials, microwaves are not easily transmitted through the raw materials and instead reflect on the metal surface. Inspection personnel must collect this reflection data signal, which includes relevant information about the defects of the metal surface, such as location information, category and its spread information. The actual basic principle of this type of image size measuring instrument inspection is that microwaves and chemical substances will have mutual influence, and metal materials will have more reflective effects. Therefore, professional technicians use a spectrum analyzer to send microwaves to the metal surface, and the metal surface will provide feedback on relevant reflection, scattering, and transmission information. This information is likely to come from different pages on the metal surface, There is no limit to the persistence of microwaves on metal material pages. The feedback from the feedback home indicates that the microwave kinetic energy may change. By conducting scientific research on the sudden changes and testing the main magnetic induction parameters of the material, defects on the metal surface of seamless steel pipes can be detected during eddy current testing.
|


