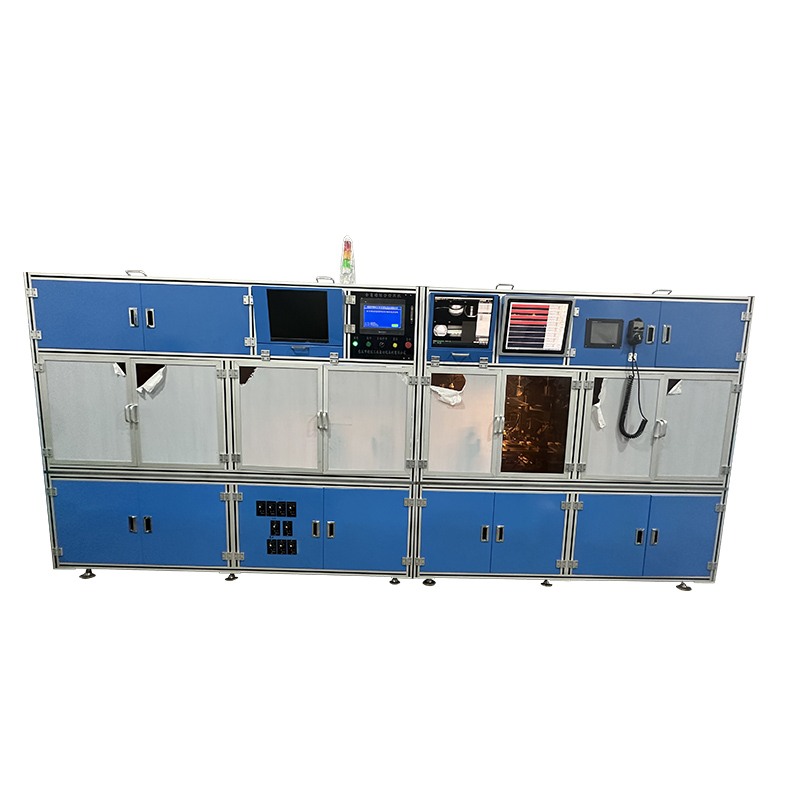
Principle of hardness sorting:
Due to the different effects of hardness value, material variety, depth of hardening layer, heat treatment state, and defects in components (such as cracks, pores, inclusions, etc.) of magnetic materials on the magnetic field, there exists a certain corresponding relationship. When the tested workpiece is in contact with a uniformly distributed probe magnetic field, the magnetic field inside the probe changes, and an excitation current is generated in the probe coil, which is transmitted to the instrument through a wire. After being analyzed and processed by the central circuit of the instrument, the quality status of the tested workpiece can be automatically judged and displayed on the display screen through computer software processing. It is precisely through the changes in electromagnetic effects caused by the magnetic flux of the tested workpiece that electrical signals are generated. After amplification and conversion, they are processed by computer software to achieve the detection of defects such as material composition, hardness, surface hardening depth, cracks, and mixing
Technical parameters:
Hardness testing sensitivity: Rockwell: ± 2HRC; Vickers: ± 40Hv. Error range: Effective sorting of different materials
Common problems with the insertion, welding, and magnetic traces of magnetic particle testing machines:
1、 Plug in:
1. When using the continuous magnetization method, the insertion time must be established to ensure that the magnetic particle inspection can be applied under the insertion condition;
2. When using the magnetic loss method for magnetization, the magnetization time is generally 0.2-1 seconds. When using the impulse current, it should be above ten meters per second and continuously plugged in for more than two times. If the magnetic particle testing machine can have sufficient magnetic potential during the testing process, then the tube bundle may not comply with this requirement.
2、 Welding
1. One is that when performing heat treatment on the welding after electric welding, it is necessary to perform a flaw detection after the heat treatment.
2. For the inspection of gaps and high-pressure vessels after heat treatment, the magnetization method does not need to use the method of immediately energizing the flow rate.
When it is difficult to distinguish the authenticity of magnetic marks generated during magnetic particle testing, demagnetization is necessary.
3、 Magnetic trace
1. If it is a magnetic mark written by magnetism, after demagnetization and retesting, the magnetic mark will disappear.
2. The magnetic marks caused by the uneven surface of the magnetic particle testing machine can be smoothed before testing, and the magnetic marks of the testing equipment will disappear.
3. Due to the strong electric current caused by ultrasonic non-destructive testing, magnetic particle testing may converge and produce false magnetic marks. This can be achieved by reducing the current or using magnetic loss method for retesting, and the magnetic marks will disappear.
4. Magnetic traces generated in areas with sudden changes in permeability can be identified using methods other than magnetic particle testing, such as macroeconomic examination and optical microscopy.
|

